📱 All About the Social Planner (Start Here)
Updated as of February 4, 2025
This Knowledge Base article explains how to use the Social Planner in DealTrail to schedule, create, and analyze social media content. Users can manage posts across multiple platforms, customize templates, track performance metrics, and collaborate with their team. With AI-powered recommendations and built-in analytics, the tool optimizes engagement and streamlines content management.
The Social Planner tool in DealTrail allows you to plan, create, and analyze social media content, making it easy to maintain an engaging online presence.
Key Features
- Effortless Content Scheduling
- Plan and organize posts for multiple platforms in a single calendar view.
- Set recurring posts for high-impact campaigns.
- Customizable Templates
- Access professionally designed templates tailored for real estate professionals.
- Easily edit templates with your brand colors, logos, and messaging.
- Multi-Platform Integration
- Publish and monitor content across platforms such as Facebook, Instagram, LinkedIn, and more, all from one dashboard.
- Automatically adjust content formatting to fit each platform’s specifications.
- Performance Insights
- Track engagement metrics, such as likes, shares, and comments, directly within the planner.
- Identify top-performing posts and optimize future content strategies.
- Team Collaboration
- Assign tasks to team members for content creation, review, and scheduling.
- Enable approval workflows for quality assurance.
- AI-Powered Recommendations
- Leverage AI tools to suggest the best times to post for maximum reach.
- Receive content ideas based on trending topics and audience preferences.
How It Works
Step 1: Connect Your Accounts
Step 2: Create or Upload Content
Step 3: Schedule Your Posts
Step 4: Monitor and Adjust
1. Planner
The Planner helps you schedule and organize social media posts across multiple platforms.
Steps to Use the Social Media Planner
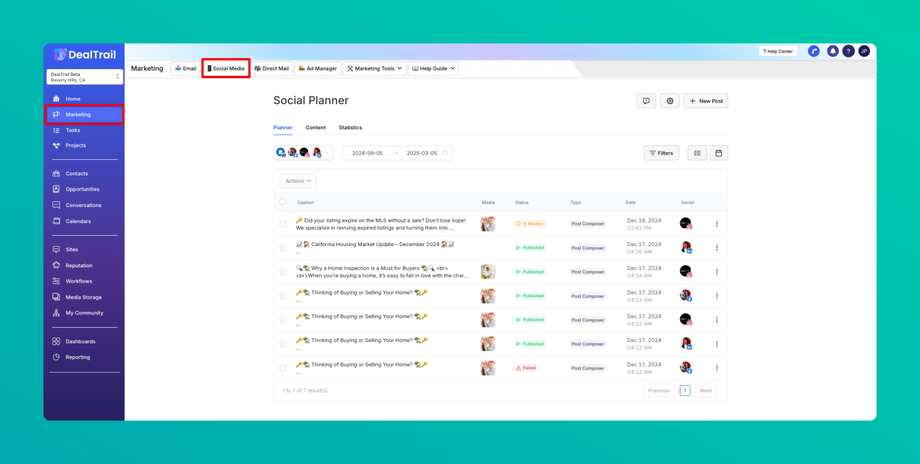
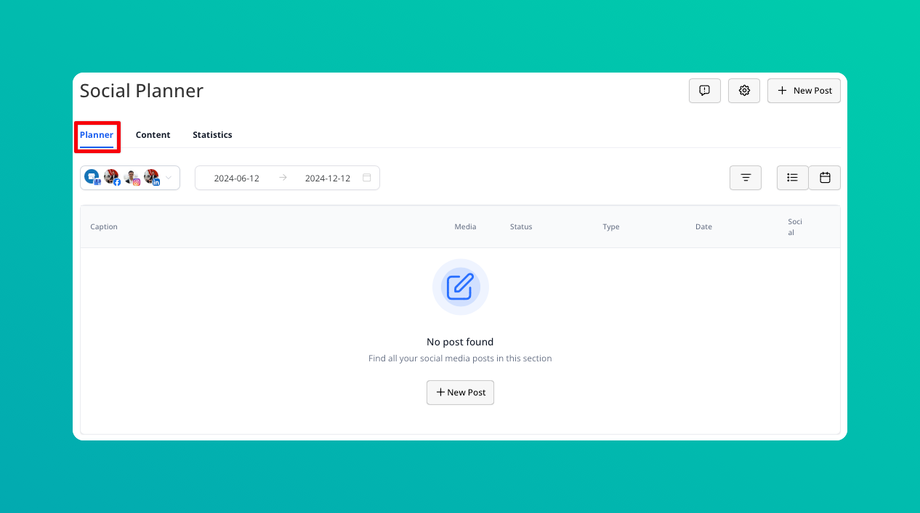
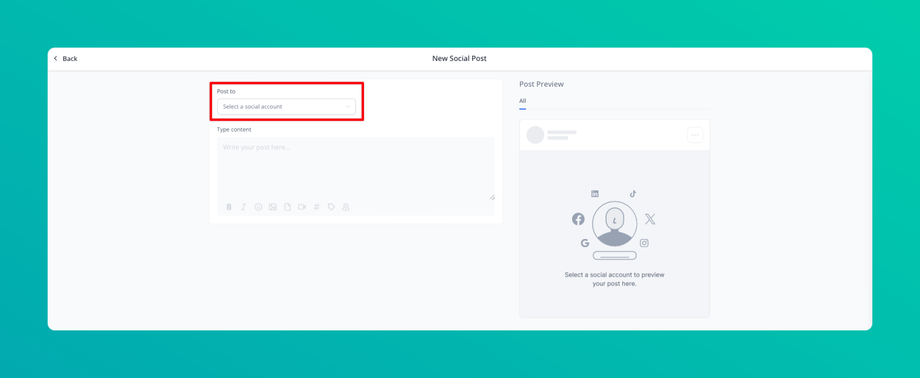
1. Navigate to the Planner:
• Go to Social Media and select Planner.
2. Set Up Campaign Dates:
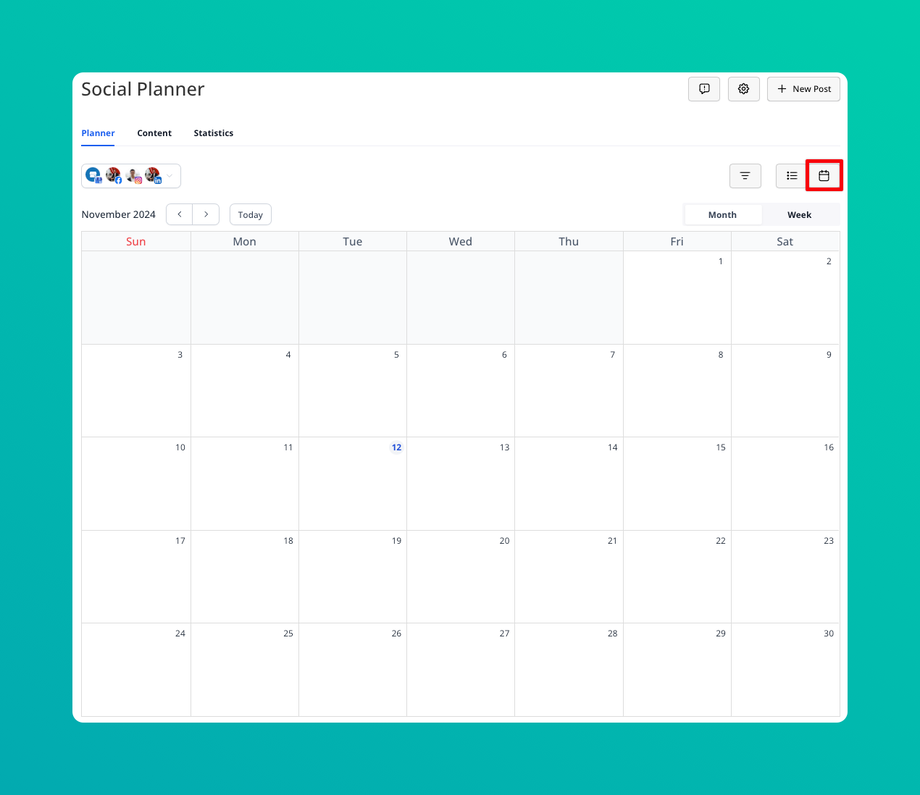
• Calendar View: Use the calendar to visualize your posting schedule by day, week, or month.
• Select Campaign Dates: Choose dates and times to plan individual posts for optimal engagement.
3. Create and Schedule Posts:
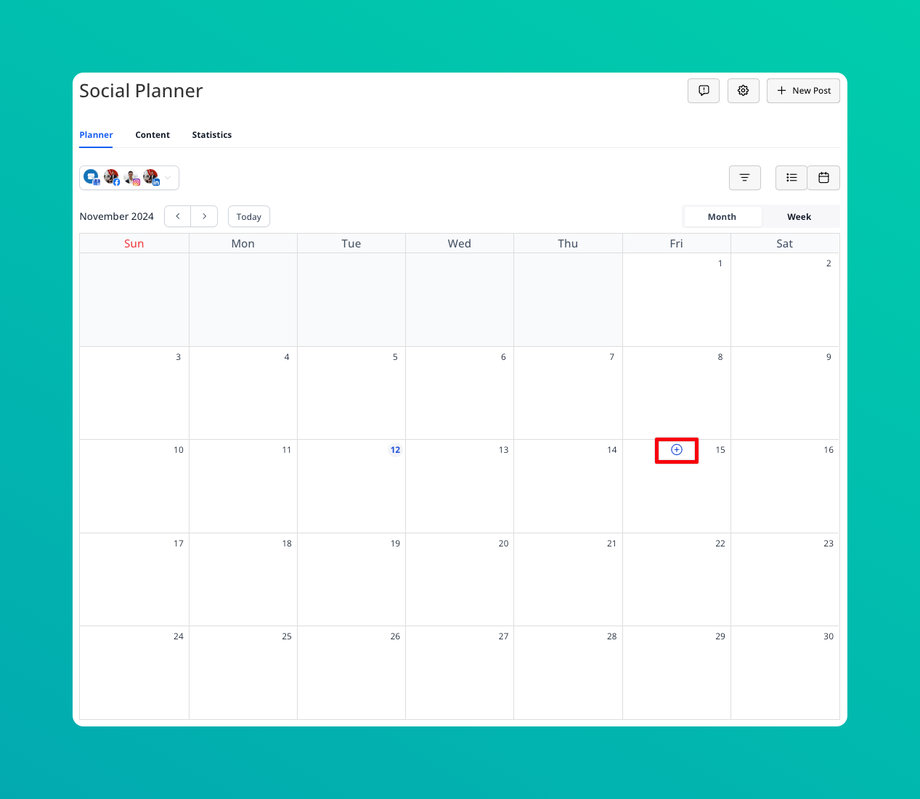
• Add New Post: Click on a date to start creating a post.
• Select Social Media Channels: Choose one or multiple platforms (e.g., Facebook, Instagram, Twitter).
• Schedule Timing: Pick the best time for each platform or use recommended posting times.
4. Review Scheduled Posts:
• Check the calendar to ensure there’s a balanced content flow across platforms.
• Make adjustments as needed to prevent content overlaps.
5. Publish or Save Drafts:
• Choose Publish Now or Save Draft to finalize posts. Drafts remain in the calendar until you’re ready to schedule or publish.
2. Content
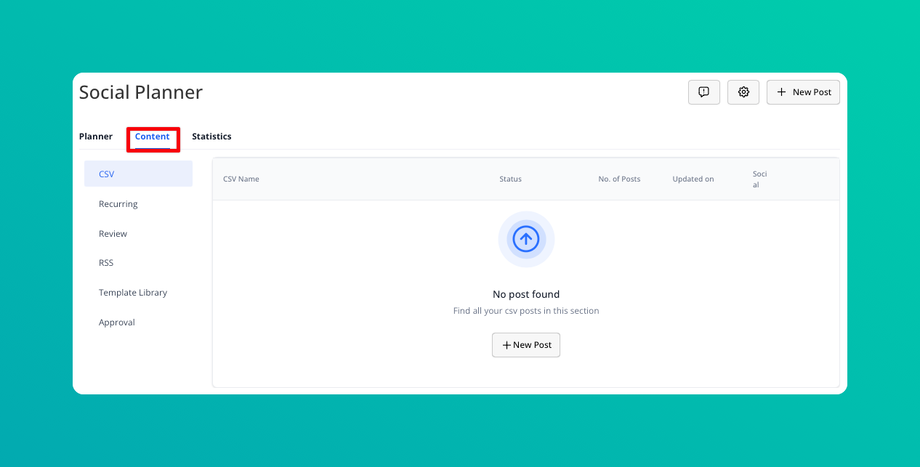
The Content library is where you create, store, and organize reusable media and text for social posts.
Steps to Create and Manage Content
1. Access the Content Library:
• Go to Social Media Campaigns and select Content.
2. Upload New Media:
• Add Photos/Videos: Upload images or videos that align with your brand.
• Organize Content: Use folders to categorize media by campaign, theme, or platform for easy access.
3. Create Post Templates:
• Add Captions: Write reusable captions, including hashtags, emojis, and links.
• Save Templates: Name templates by campaign type (e.g., Promotions, Announcements) to quickly select them for future posts.
4. Edit or Update Content:
• Modify captions or replace images in your templates to keep them relevant and fresh.
• Archived content can be retrieved if needed for seasonal campaigns or future promotions.
5. Prepare Content for Posting:
• Drag and drop saved content into the Planner for scheduling or use it directly in campaigns.
3. Statistics
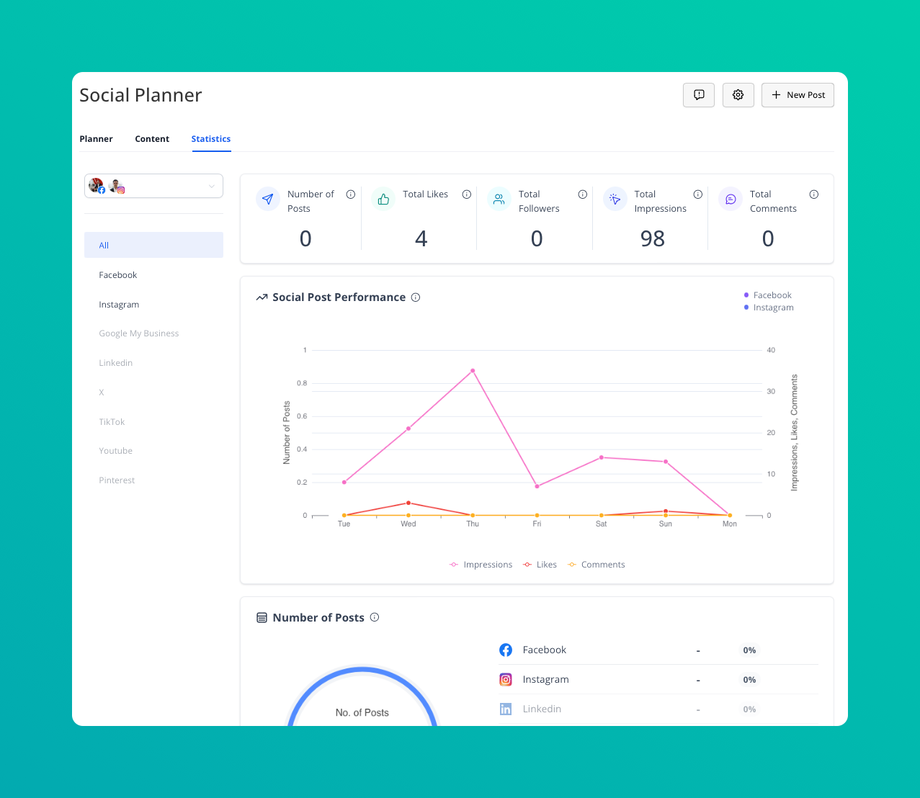
Statistics offer insights into how your social media content performs across platforms, helping you refine your strategy for maximum engagement.
Steps to Analyze Social Media Statistics
1. Navigate to Statistics:
• Access Social Media Campaigns and go to Statistics to view detailed metrics across various platforms.
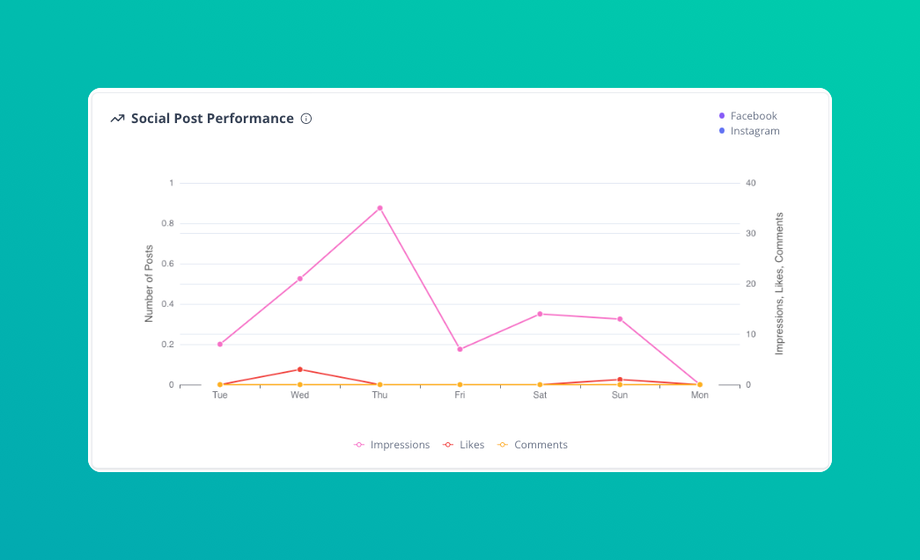
2. Social Post Performance:
• View the overall effectiveness of your posts, with metrics such as likes, shares, comments, and post reach.
• Use this data to identify which posts resonate most with your audience.
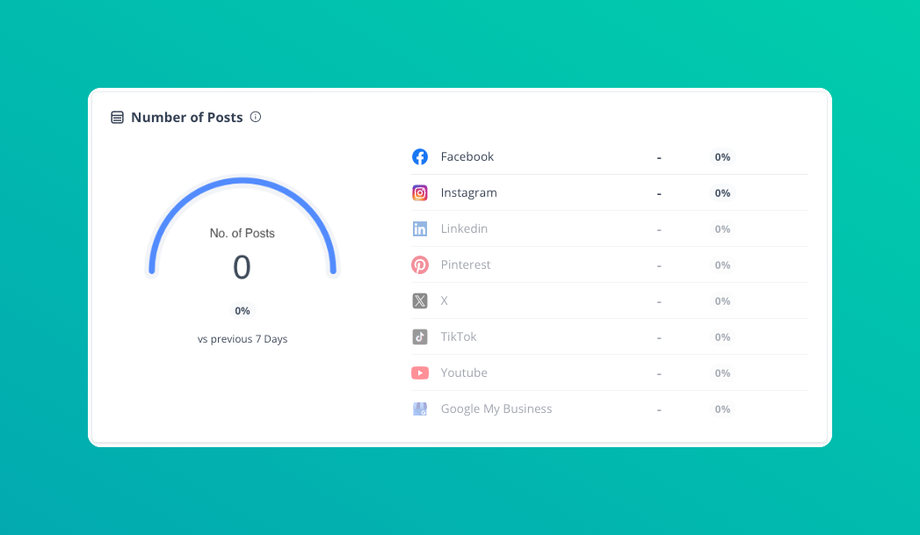
3. Number of Posts:
• Track the total number of posts published over a specific period.
• Use this metric to maintain a consistent posting schedule and evaluate the impact of post frequency on engagement.
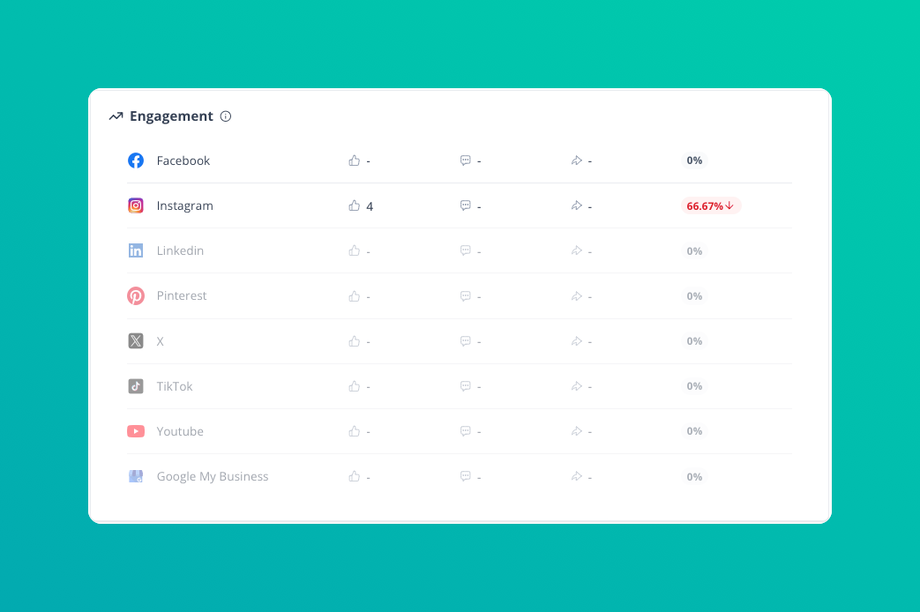
4. Engagement:
• Monitor engagement metrics including likes, comments, shares, and saves.
• Assess the types of content that drive the highest engagement to inform future campaigns.
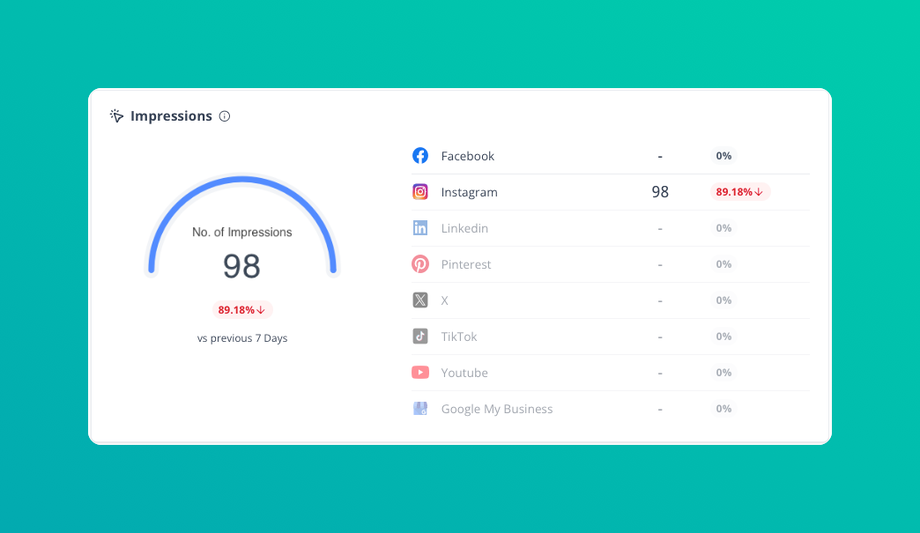
5. Impressions:
• View the total number of impressions for each post, indicating how many times your content appeared on users’ feeds.
• High impressions with low engagement might suggest adjustments to your content to better capture viewer interest.
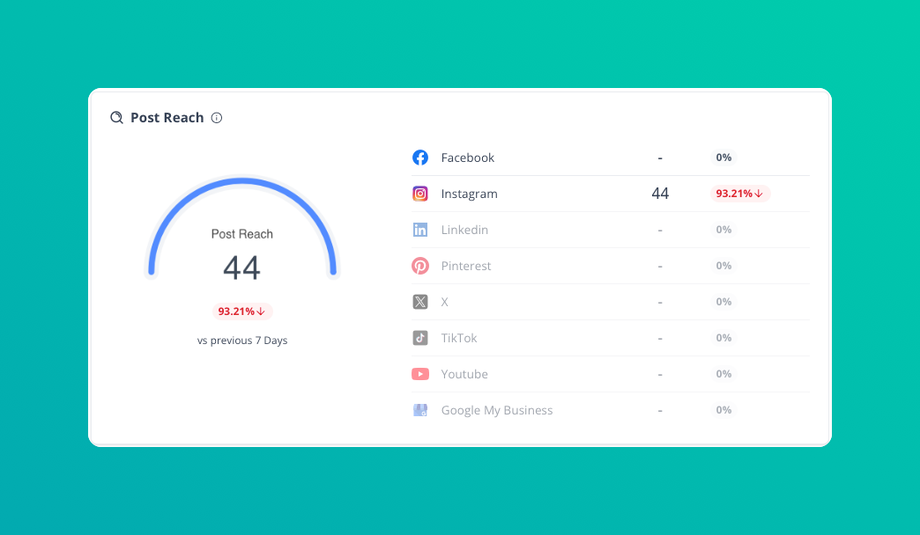
6. Post Reach:
• Analyze post reach to see the unique number of users who have seen your post.
• Reach data helps determine which types of content reach the broadest audience.
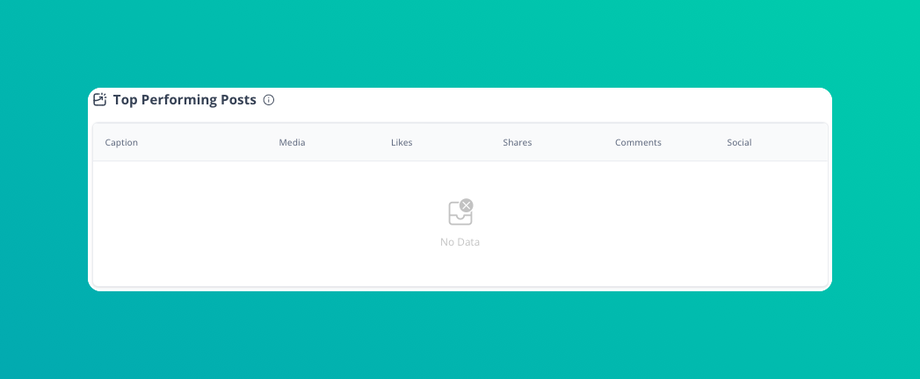
7. Top Performing Posts:
• Highlight posts with the best performance based on engagement and reach.
• Identify trends in successful posts to replicate these elements in future content.
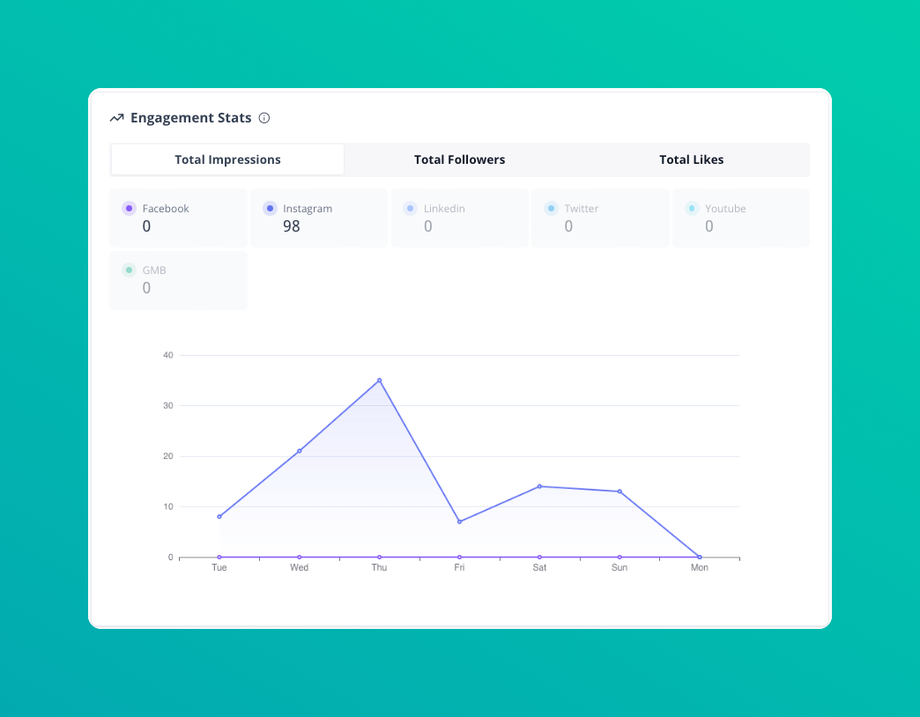
8. Engagement Stats:
• Get a detailed view of engagement statistics, including interaction rate, average engagement per post, and audience response time.
• These insights allow you to gauge how actively your audience engages with content.
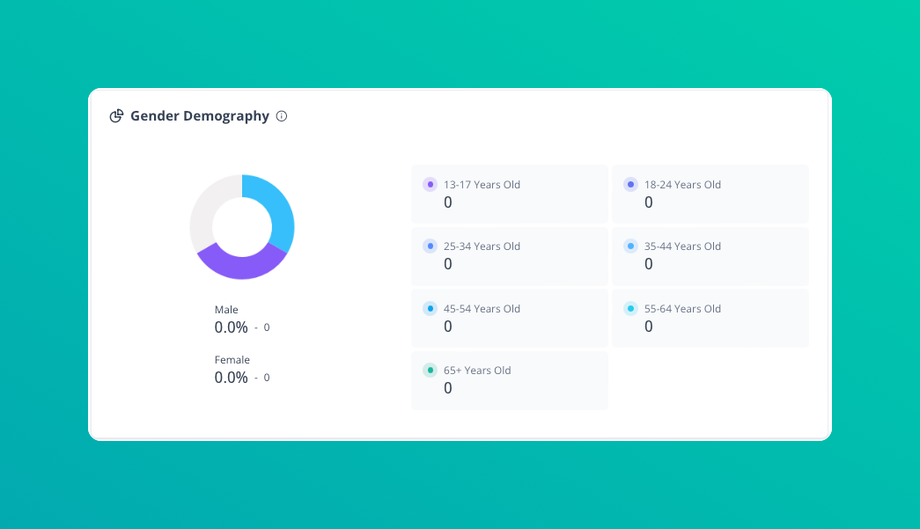
9. Gender Demography:
• View the gender demographics of users interacting with your posts.
• Tailor your content to resonate with your primary audience, or adjust your strategy if you want to reach a more diverse demographic.


