📱 Phone Number
This guide provides a comprehensive overview of the Phone System within the Settings section in DealTrail. The phone system setup is critical for managing communication, including inbound and outbound calls, SMS/MMS, and tracking related analytics.
1. Manage Numbers
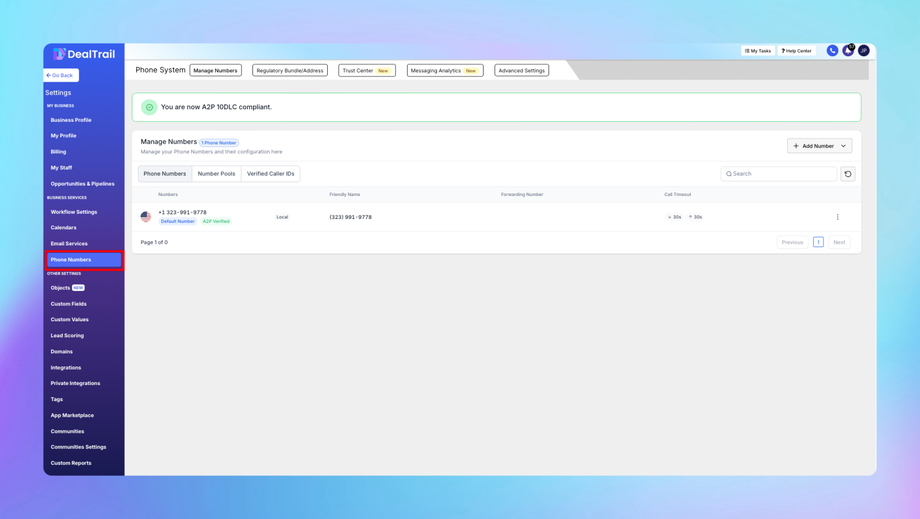
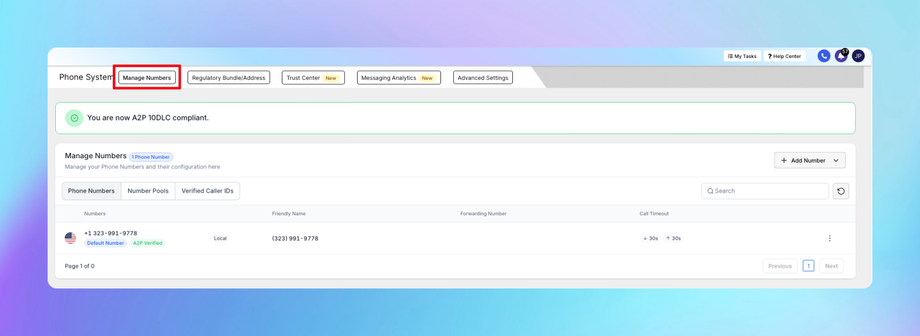
The Manage Numbers feature is used to purchase, configure, and manage phone numbers for calling and SMS/MMS functionalities.
Key Features:
• Purchase Phone Numbers: Search for and buy new numbers by area code or location.
• Number Assignment: Assign numbers to specific users, workflows, or campaigns.
• Usage Details: View the usage type (calls, SMS/MMS) and associated costs.
How to Access:
1. Navigate to Settings > Phone Number > Manage Numbers.
2. Perform actions such as:
• Add New Number: Search by area code or location, then purchase the desired number.
• Edit Number Configuration: Assign the number to a team, workflow, or IVR.
• View Usage: Check SMS, call volumes, and costs associated with each number.
2. Regulatory Bundle/Address
Regulatory Bundles help comply with telecom regulations by providing required documentation and ensuring lawful use of phone numbers.
Purpose:
• Required for certain regions where proof of identity and address is mandatory for number registration (e.g., EU, US).
• Prevents numbers from being flagged or suspended due to non-compliance.
How to Create a Regulatory Bundle:
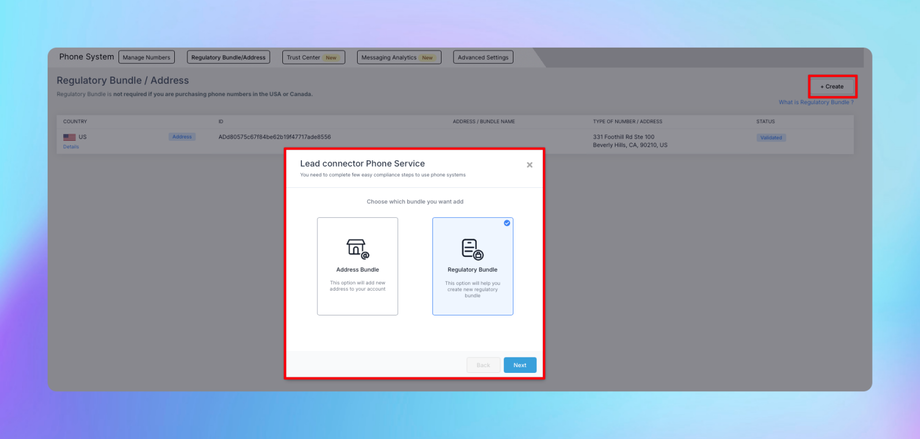
1. Navigate to Settings > Phone Number > Regulatory Bundle/Address
2. Click Create New Bundle and provide:
• Identity Verification: Upload documents like a passport or business license.
• Address Verification: Upload utility bills or lease agreements.
3. Submit the bundle for review.
4. Once approved, associate the bundle with phone numbers requiring compliance.
Tip: Always monitor the status of your bundles to avoid number deactivation.
3. Trust Center
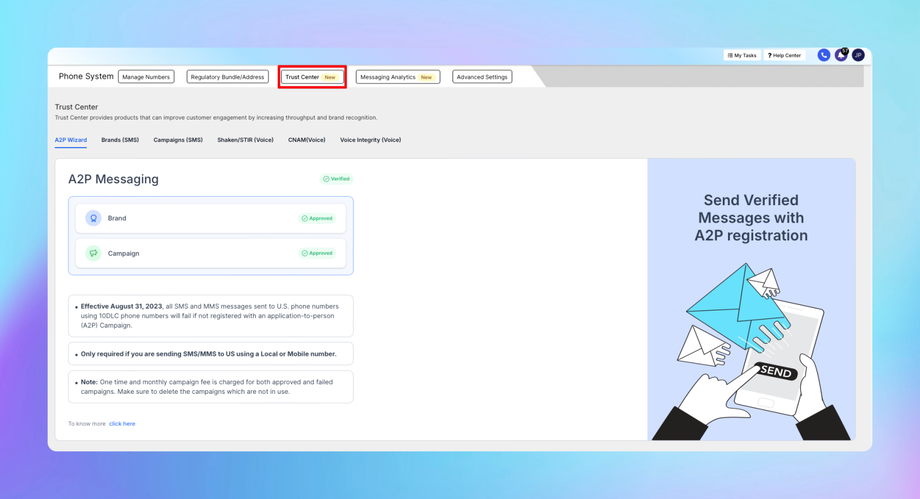
The Trust Center provides a centralized hub for managing sender reputation and ensuring compliance with industry standards.
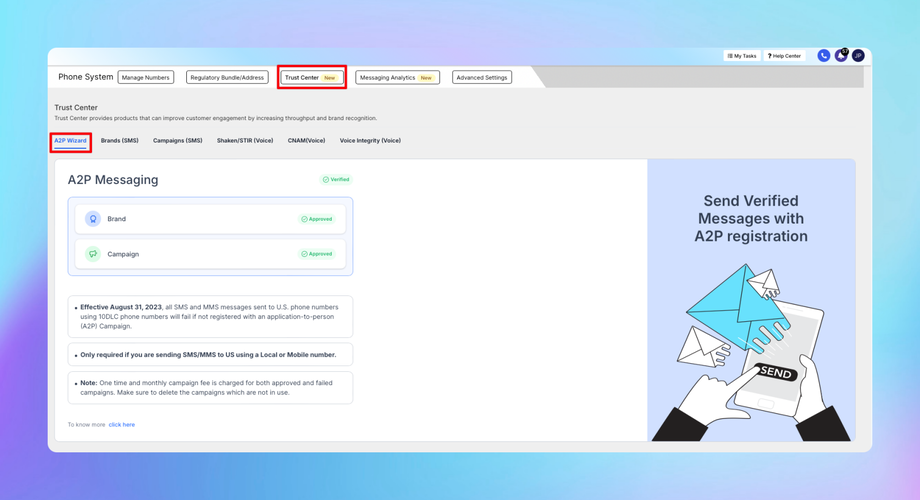
1. A2P Wizard
The A2P (Application-to-Person) Wizard streamlines the process of registering for compliance with the A2P 10DLC messaging framework, required for businesses sending SMS in the United States.
Steps to Register:
1. Access the Wizard:
• Navigate to Settings > Phone Number > Trust Center > A2P Wizard.
2. Enter Brand Information:
• Provide details about your business (e.g., name, tax ID, industry, website).
3. Campaign Information:
• Specify the type of messages you’ll send (e.g., marketing, transactional).
• Add sample messages to demonstrate compliance.
4. Submit for Approval:
• The system reviews your application to assign a trust score and approval status.
5. Monitor Registration Status:
• Check updates in the Trust Center to ensure all requirements are met.
Tip: A higher trust score improves message deliverability and reduces carrier filtering.
2. Brands (SMS)
This section manages information about the entity sending SMS messages, as required for compliance with A2P 10DLC.
Key Details Managed:
• Business Name: The legal name of your organization.
• Tax ID/Employer ID Number (EIN): Proof of business identity.
• Industry Type: Choose the relevant category (e.g., retail, healthcare).
• Support Contact: Provide a phone number or email for recipient inquiries.
3. Campaigns (SMS)
Campaigns define the purpose of your SMS messages (e.g., marketing, alerts, customer care).
Key Steps to Configure SMS Campaigns:
1. Create a Campaign:
• Navigate to Trust Center > Campaigns (SMS) > Add Campaign.
2. Select Campaign Type:
• Examples include:
• Marketing: Promotional messages.
• Transactional: Appointment reminders or OTPs.
• Provide example messages for each type.
3. Assign Numbers:
• Attach registered phone numbers to the campaign.
4. Submit for Approval:
• Campaigns undergo carrier review to ensure compliance.
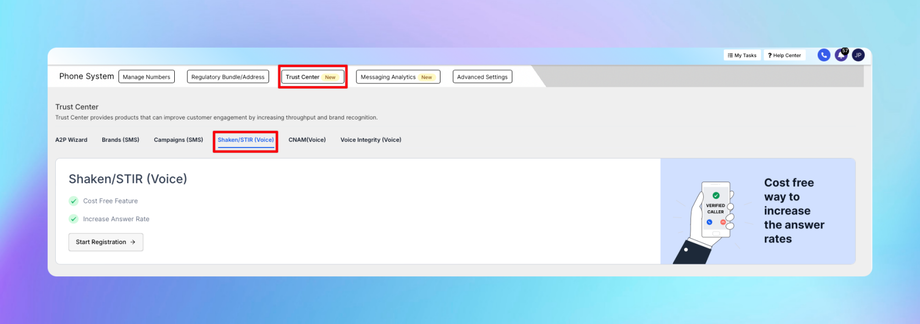
4. Shaken/STIR (Voice)
The Shaken/STIR framework helps verify the legitimacy of outgoing calls, reducing the likelihood of being flagged as spam or fraud.
How It Works:
• Shaken (Secure Handling of Asserted Information Using toKENs): Authenticates the caller’s identity.
• STIR (Secure Telephony Identity Revisited): Validates the integrity of the caller ID.
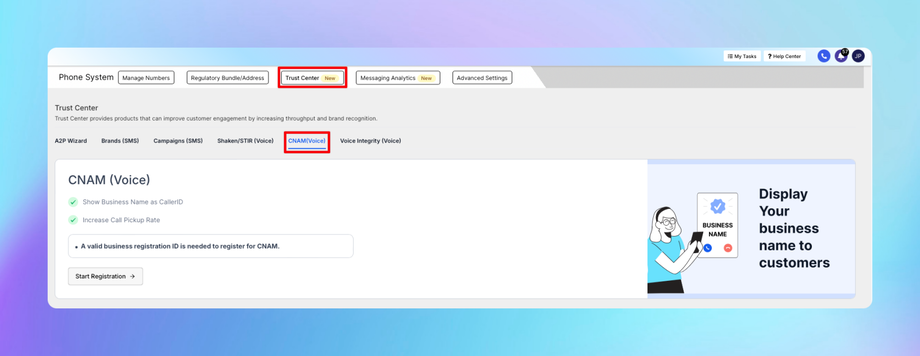
5. CNAM (Voice)
CNAM (Caller Name) ensures that your business name appears on recipient phones during calls, enhancing trust and recognition.
Steps to Configure CNAM:
1. Navigate to Trust Center > CNAM (Voice).
2. Enter your business name as you want it displayed.
3. Submit the request for approval.
4. Once approved, the CNAM will appear with your outbound calls.
Limitations:
• CNAM works for landlines and some mobile carriers.
• There may be character limits for the displayed name.
Best Practices for Trust Center:
1. Complete A2P Registration:
• Ensure compliance to avoid penalties and maximize SMS deliverability.
2. Maintain Accurate Brand and Campaign Information:
• Regularly update details to meet regulatory changes.
3. Monitor Shaken/STIR and CNAM:
• These features enhance call legitimacy and recipient trust.
4. Review Analytics:
• Use messaging and voice analytics to proactively address delivery or trust issues.


