📧 Email Campaigns
Updated as of February 5, 2025
This Knowledge Base provides a comprehensive guide to using the Campaigns features in DealTrail. It covers the essentials of creating and managing email campaigns, utilizing templates, and tracking performance metrics to optimize engagement.
1. Campaigns
The Campaigns section enables users to create and manage email campaigns to engage contacts effectively. It includes both one-off and automated campaigns as part of workflows.
1.1 Email Campaigns
These are individual email campaigns that target specific contact lists, typically used for announcements, promotions, or newsletters.
Steps to Create an Email Campaign
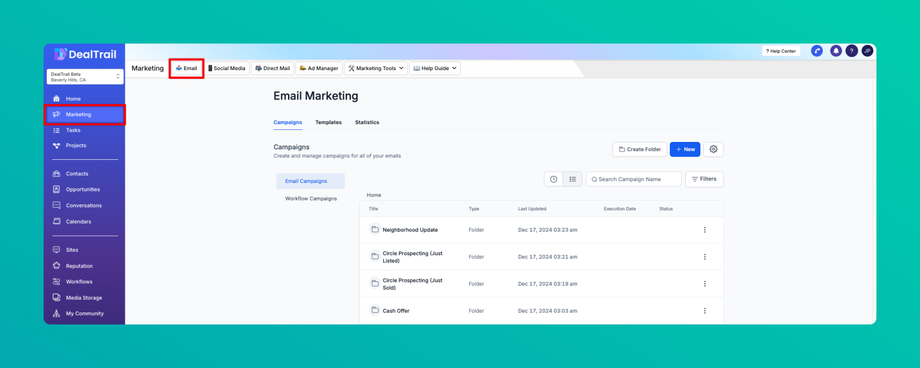
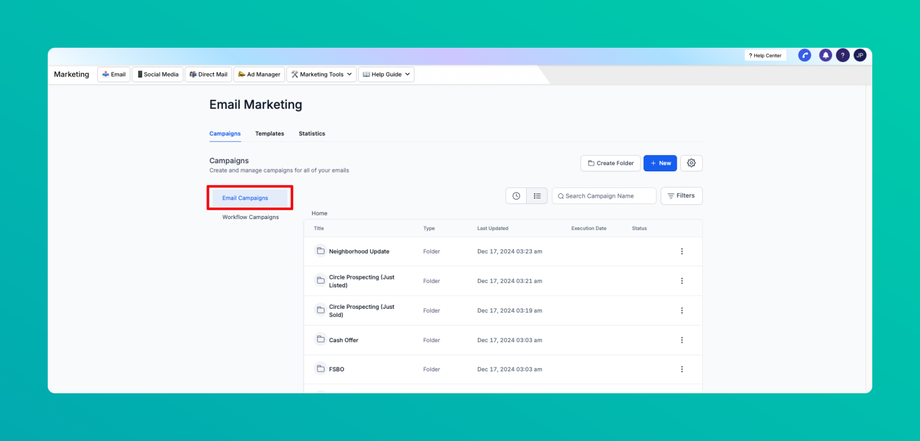
1. Navigate to Email Campaigns:
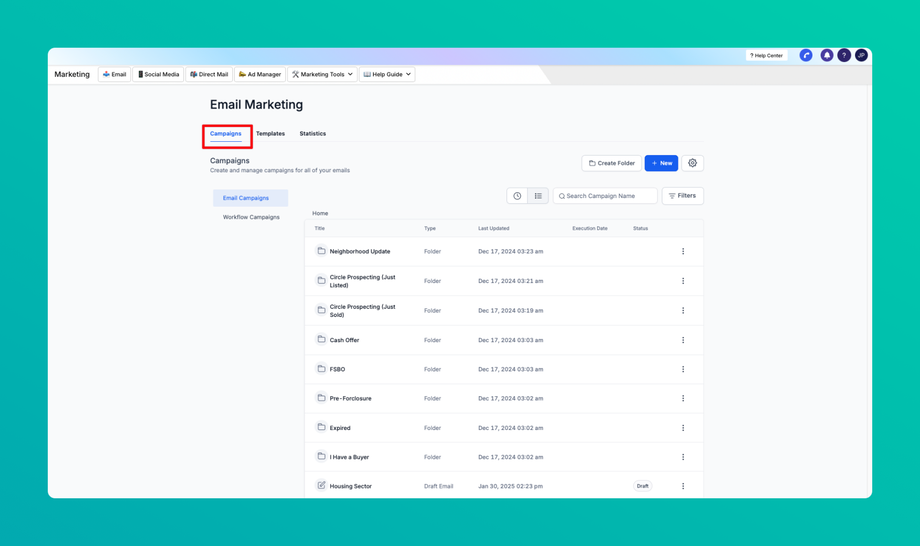
• Go to the Campaigns section in DealTrail and select Email Campaigns.
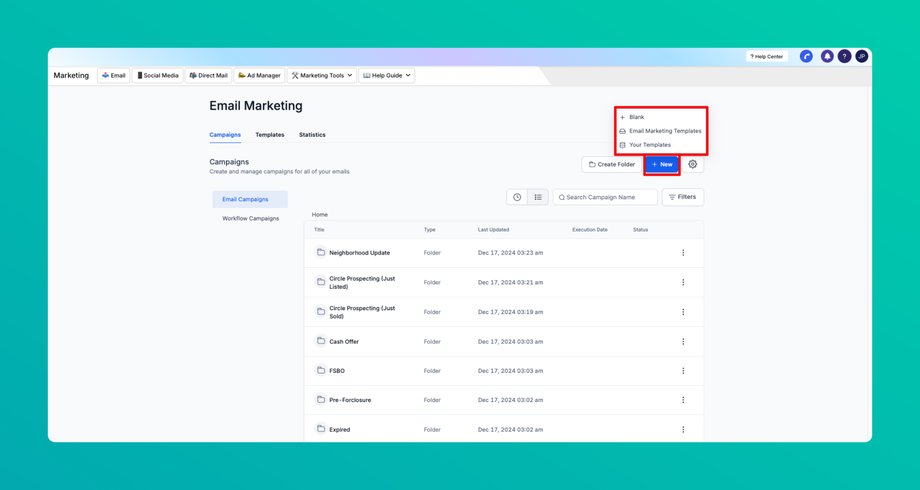
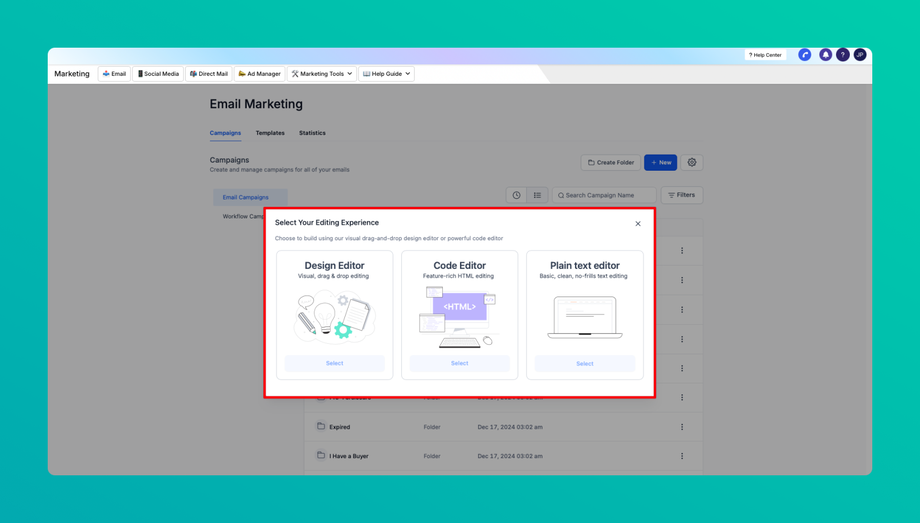
• Select a Template: Choose an existing template or start from scratch.
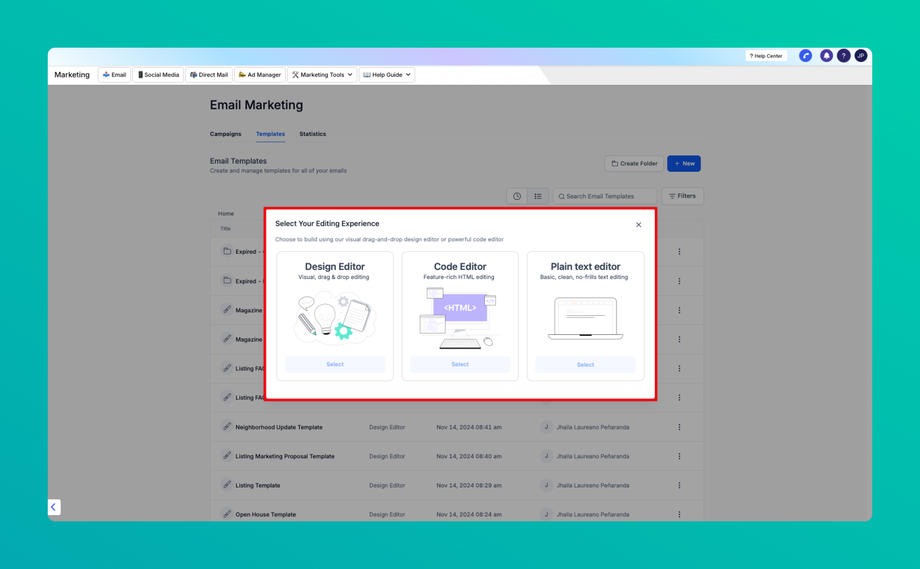
• Select your editing experience.
2. Set Campaign Details:
• Campaign Name: Enter a descriptive name to easily identify the campaign.
• Audience Selection: Choose the specific contact list(s) or segment(s) you want to target.
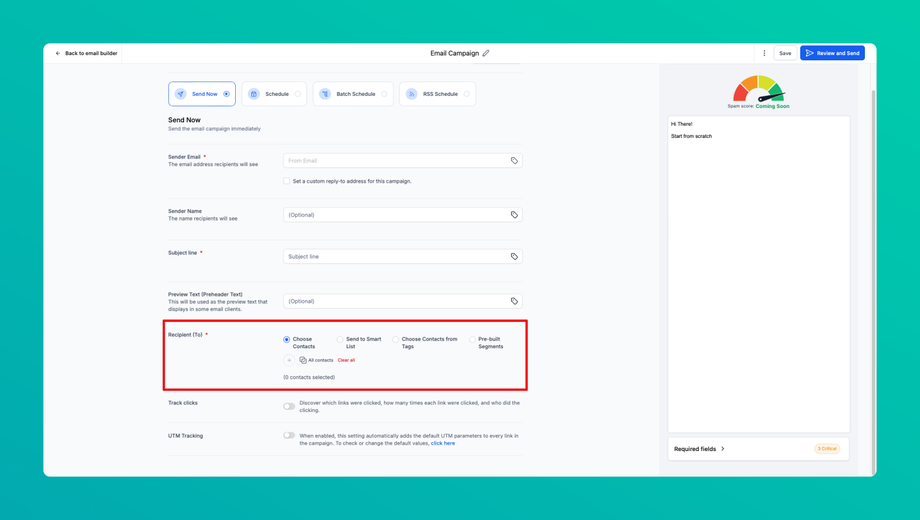
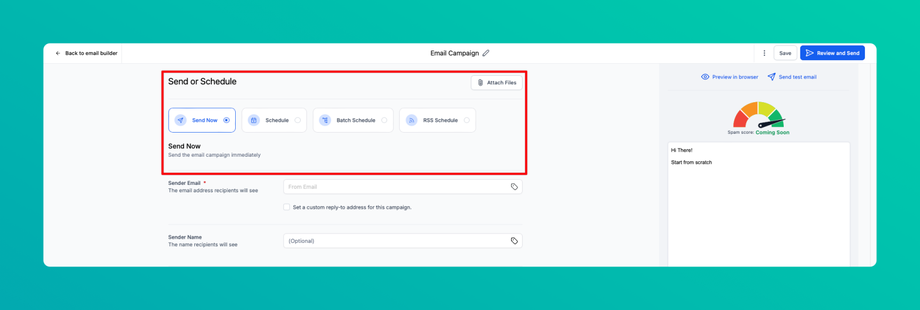
• Click on Send or Schedule.
• Choose your Recipients.
3. Compose Email:
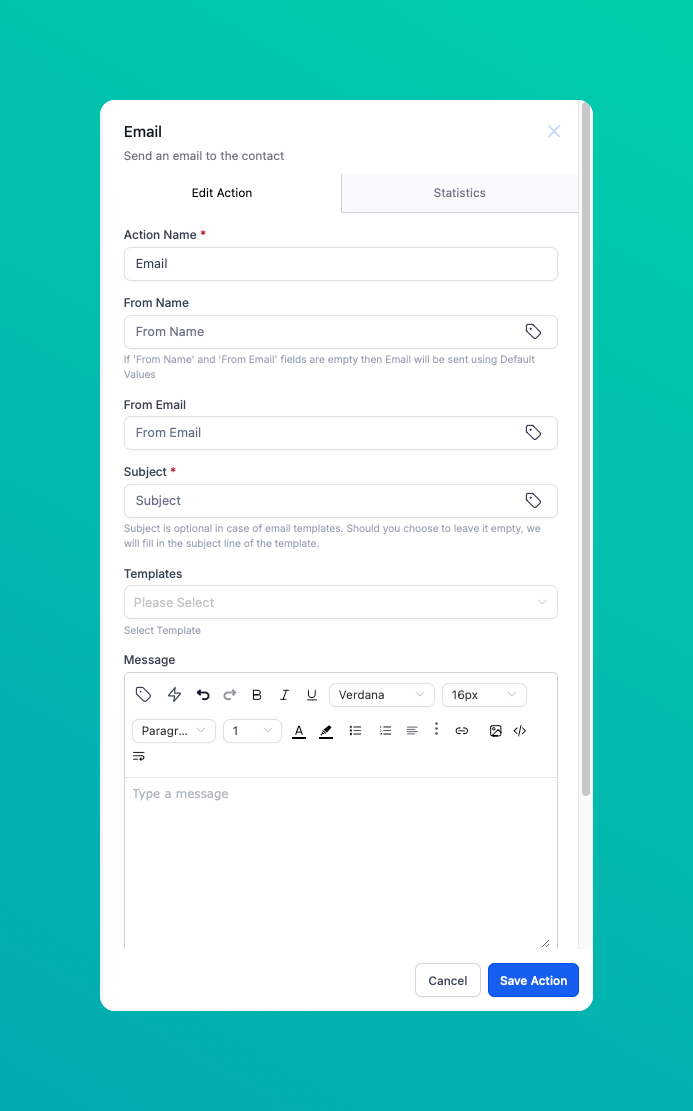
• Customize Content: Add your email content, including text, images, and links.
• Add Personalization: Use merge tags (e.g., contact name, company) for personalized touches.
4. Preview and Test:
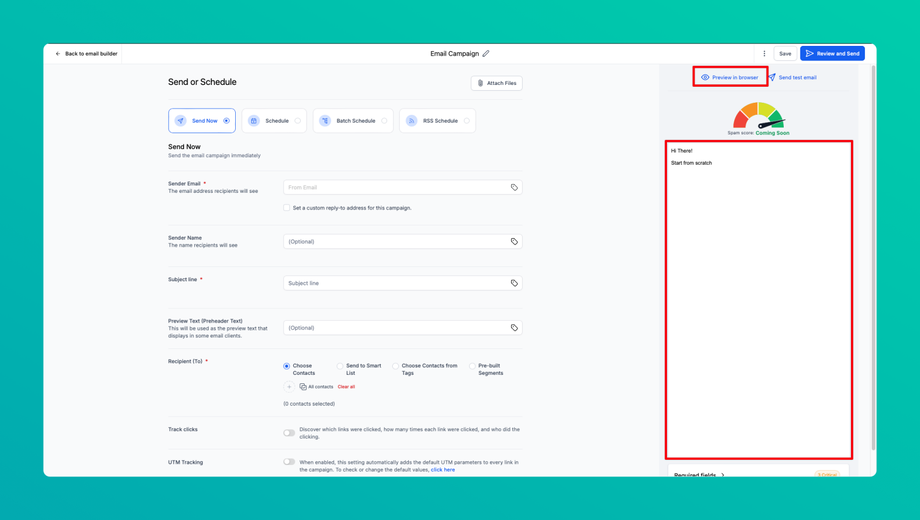
• Preview: Check how the email looks on both desktop and mobile views.
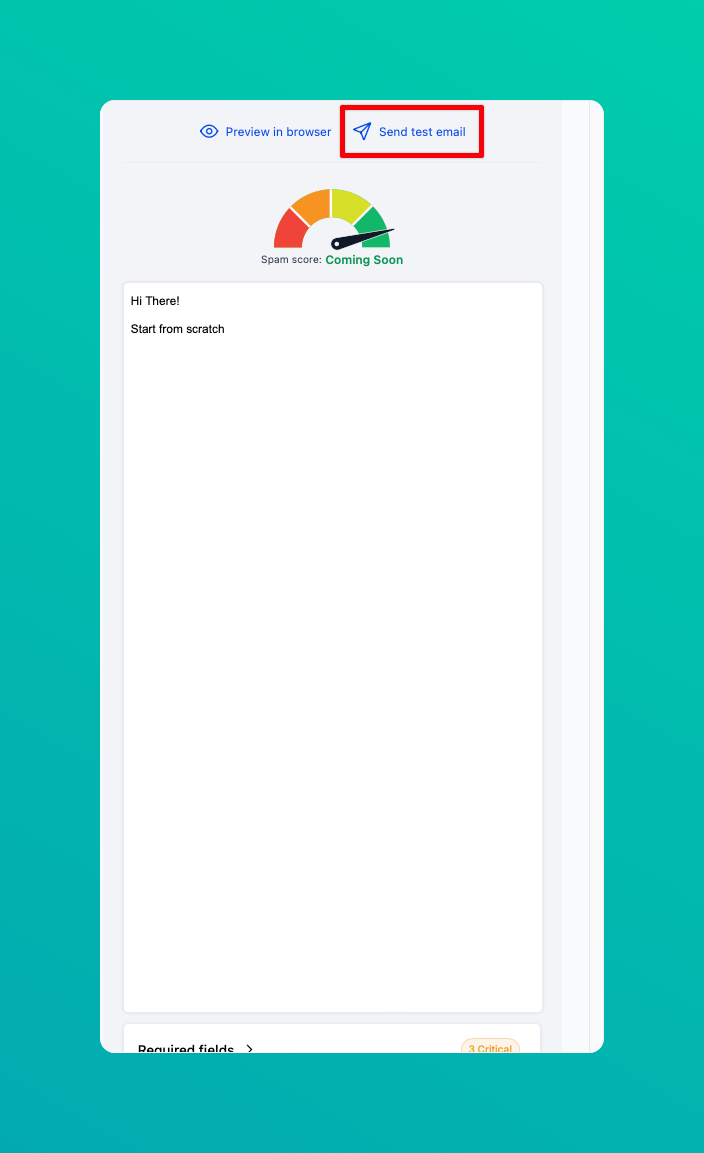
• Send a Test Email: Send a test to your own inbox to ensure it displays as expected.
5. Schedule or Send Immediately:
• Choose Send Now to send immediately or Schedule to select a future date and time.
6. Monitor Campaign:
• After sending, access real-time metrics to evaluate open and click-through rates.
1.2 Workflow Campaigns
Workflow campaigns are automated email sequences triggered by specific actions or conditions, useful for lead nurturing, onboarding, or re-engagement.
Steps to Create a Workflow Campaign
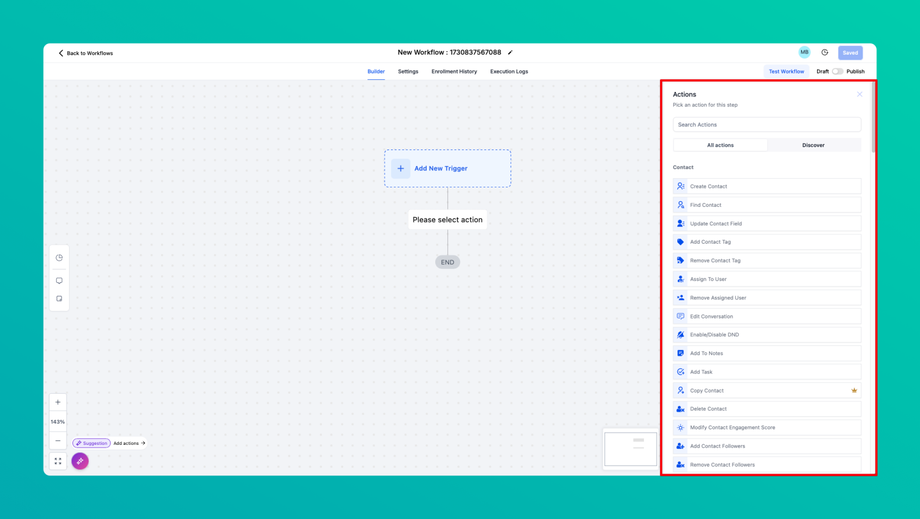
1. Navigate to Workflows:
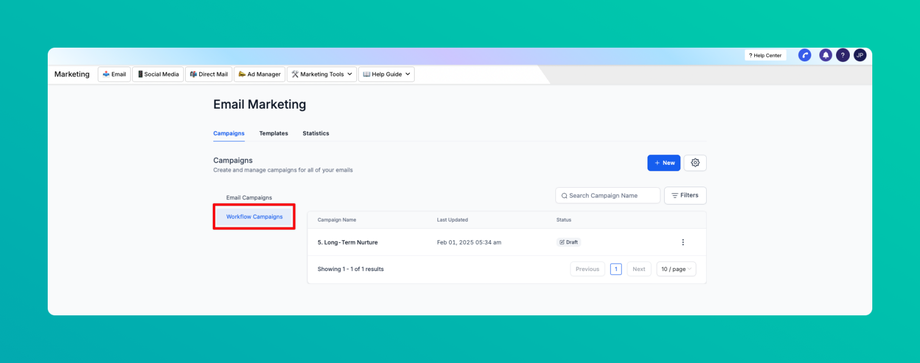
• Go to the Campaigns section, select Email Campaigns, and choose Workflow Campaigns.
• Click New, it will redirect you to Workflows.
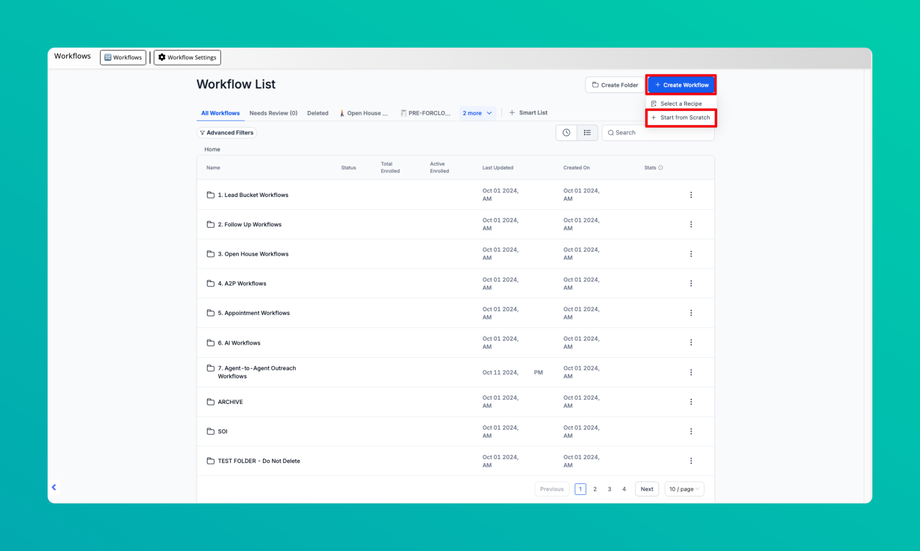
• Click on Create Workflow then Start from Scratch.
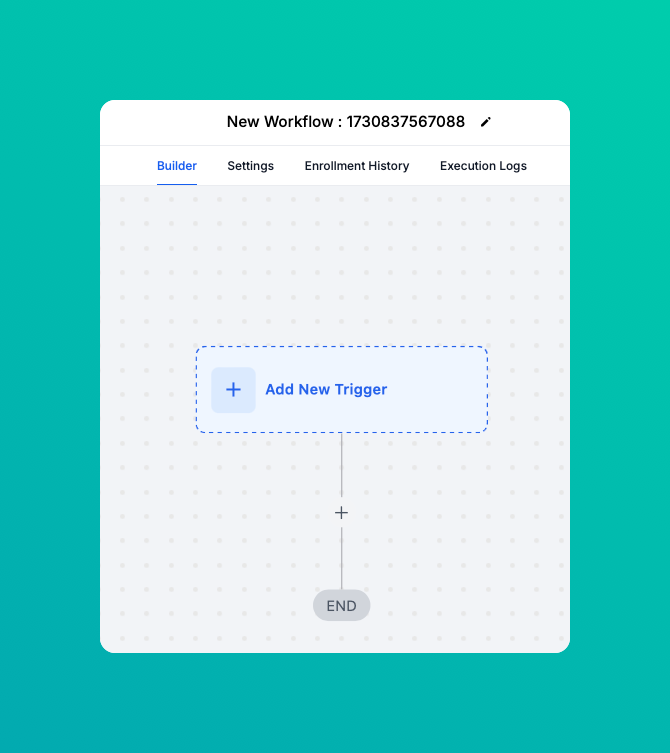
2. Define Workflow Triggers:
• Select Trigger: Choose conditions for starting the workflow (e.g., user signup, form submission).
• Configure Rules: Define any rules or conditions to personalize the workflow based on user behavior.
3. Add Email Steps:
• Set Up Each Email: Define timing and content for each step.
• Add Conditions: Set conditions (e.g., if the user opened the email, then send a follow-up).
4. Review and Publish:
• Check the entire workflow for timing and content, then activate it.
• Monitor performance for each step as contacts move through the workflow.
2. Templates
Templates save time and keep branding consistent across campaigns. Follow these steps to create and save templates for reuse.
Steps to Create an Email Template
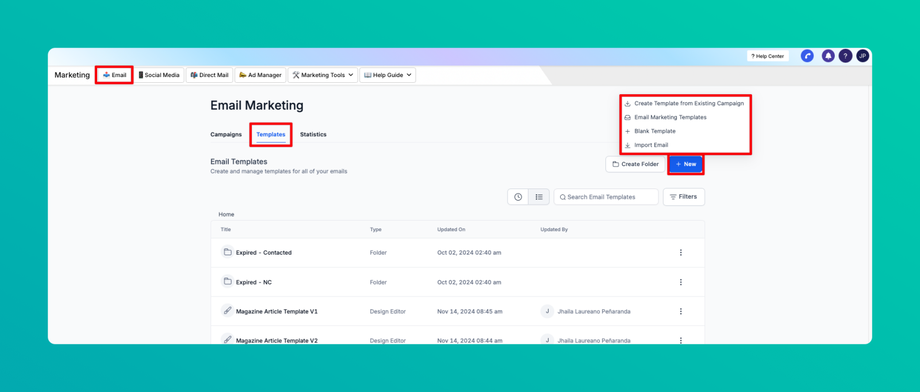
1. Access Template Library:
• Navigate to Email and select Templates.
2. Create New Template:
• Choose New and select from pre-built layouts or start with a blank template.
• Select your editing experience.
3. Design the Template:
• Add Content: Drag and drop elements like text blocks, images, buttons, and dividers.
• Customize Style: Adjust colors, fonts, and images to match your branding.
4. Add Personalization and Merge Tags:
• Insert merge tags for personalized elements (e.g., contact first name, location) to improve engagement.
5. Save and Name Template:
• Save Template: Enter a name that reflects the template’s purpose (e.g., Newsletter, Promo).
• The template is now available for selection in future campaigns.
3. Statistics
The Statistics section provides detailed insights into campaign performance, helping users understand what works best and where adjustments are needed.
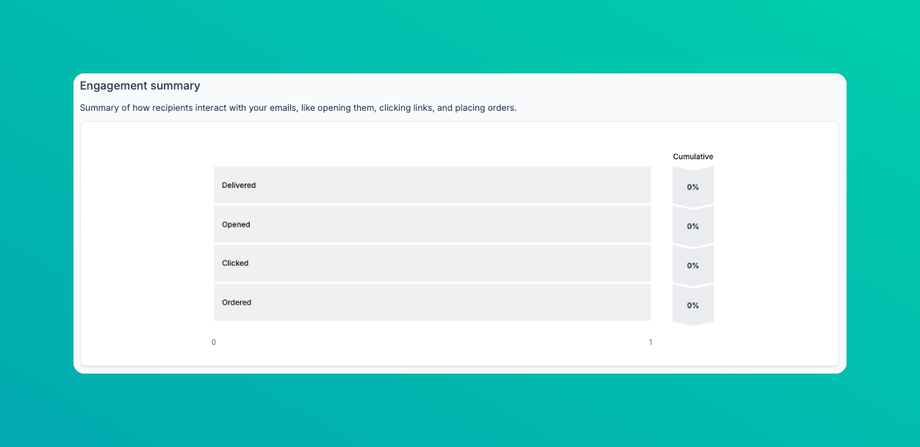
3.1 Engagement Summary
Provides an overview of user interactions with email campaigns, including opens, clicks, delivered, and ordered.
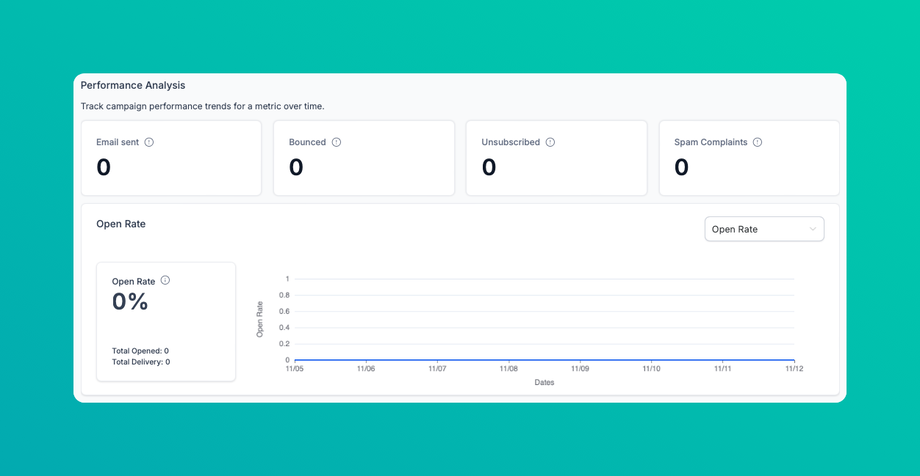
3.2 Performance Analysis
Analyzes campaign performance over time, helping users identify trends and understand how timing, content, and audience affect engagement.
Usage Tips:
• Open Rate: Review open rates to measure interest and identify effective subject lines.
• Unsubscribe Rate: Keep an eye on this metric to monitor audience satisfaction.
• Bounce Rate: Understand bounce rates to manage list health and ensure deliverability.
• A/B Testing: For campaigns with multiple versions, review A/B test results to see which version performed better.
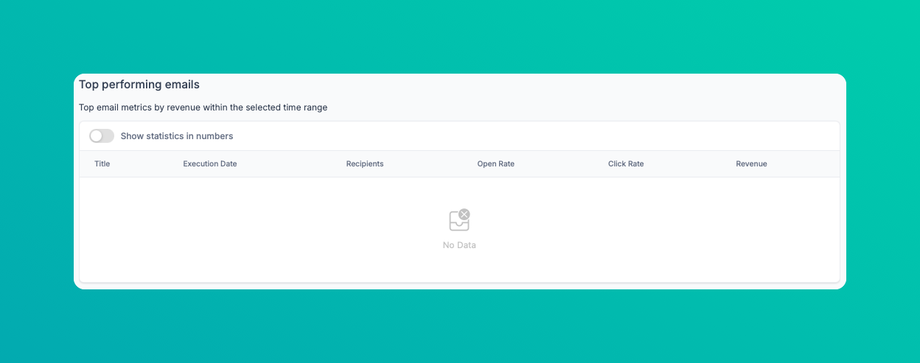
3.3 Top Performing Emails
Identifies the best-performing emails based on engagement metrics, helping users replicate successful strategies.
Usage Tips:
• Best Subject Lines: Note which subject lines generated the highest open rates for future campaigns.
• Content Analysis: Determine which types of content drive the most engagement.
• Conversion Tracking: If conversions are tracked, review which emails generated the highest conversions.
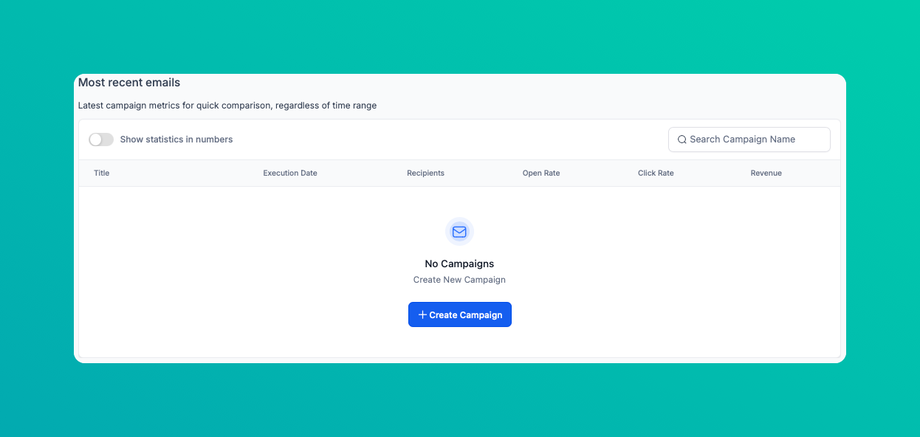
3.4 Most Recent Emails
Lists the most recently sent campaigns, along with their initial performance data.
Usage Tips:
• Recent Campaign Overview: Quickly access and review the latest emails to assess their immediate impact.
• Initial Metrics: Analyze open and click rates early to identify any need for adjustments in follow-up campaigns.


